One year of PaperPict: what we learned about figures
Eleven months, six tools, and a lot of figures. Some of what we learned we expected. Some of it we didn't.
Read article →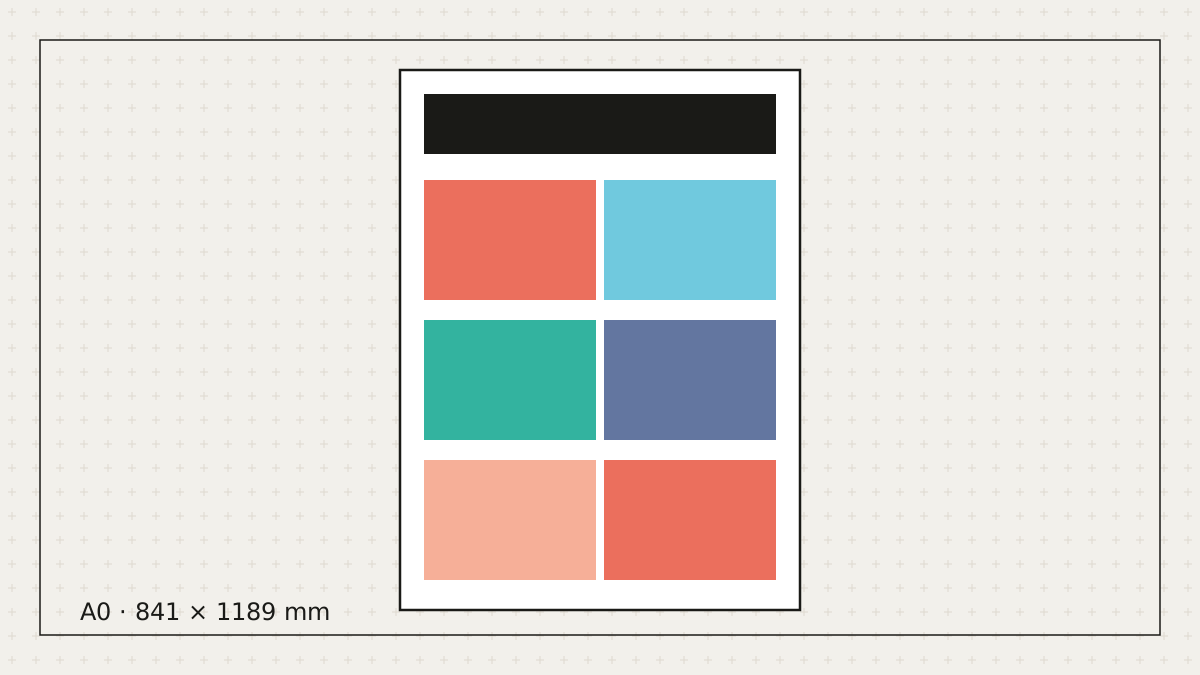
Upload the manuscript PDF and choose the poster size. The Poster Maker drafts a column layout with a title block, a one-sentence take-home message, methods, results panels, and next steps, and pulls the paper's figures into place. That first draft is usually 70% of the work.
Posters are read top-to-bottom, left-to-right, in the order you would speak. Reorder the panels by dragging; the columns reflow. Make the results panel the largest element and put the take-home message near the top where a passer-by sees it first.
The tool enforces minimums: 85 pt titles, 36 pt headings, 24 pt body, 18 pt captions. If a paragraph does not fit at 24 pt, the paragraph is too long — cut it rather than shrink it.
Figures generated in PaperPict are vectors and stay sharp at A0. Imported rasters are checked against a 150 DPI minimum at final size and flagged if they will pixelate.
Export a print PDF with bleed and the printer's colour profile, and an editable PPTX so lab mates can update their sections. Keep the PaperPict project as the master for next year's conference.
Add a QR code to the preprint, put your email where it can be seen, and print an A4 handout version. The poster checklist in our guides has the full list.
MORE FROM THE BLOG
Eleven months, six tools, and a lot of figures. Some of what we learned we expected. Some of it we didn't.
Read article →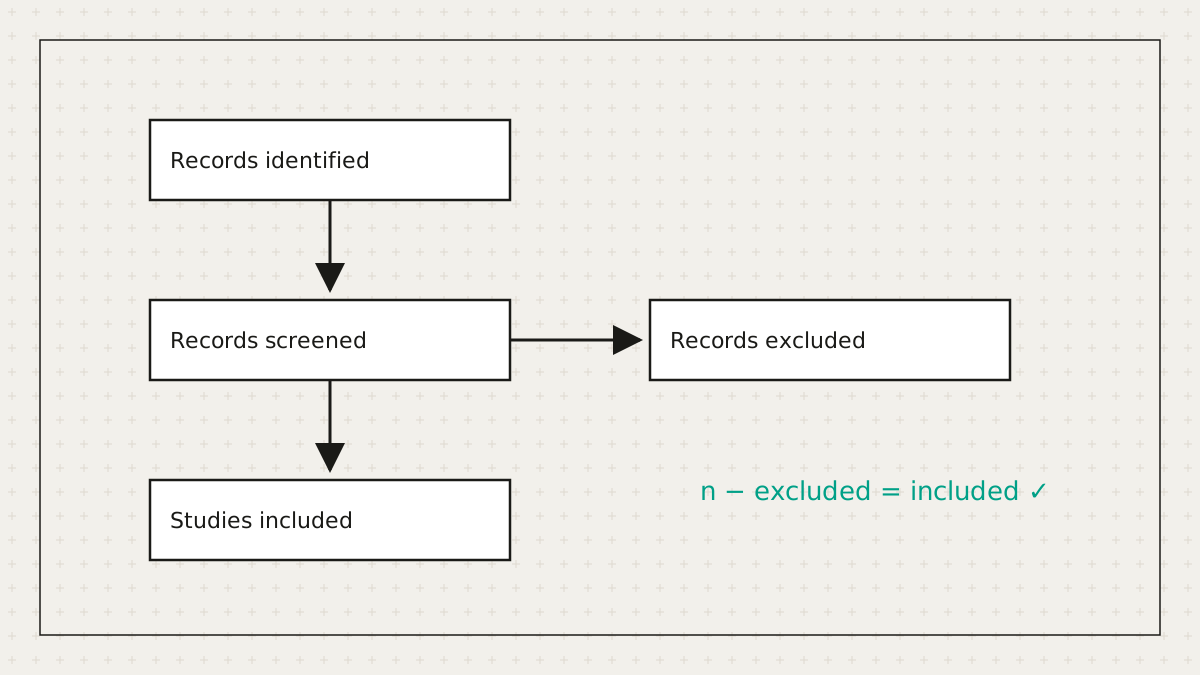
Systematic reviewers lose hours to a diagram whose main job is arithmetic. So we did the arithmetic.
Read article →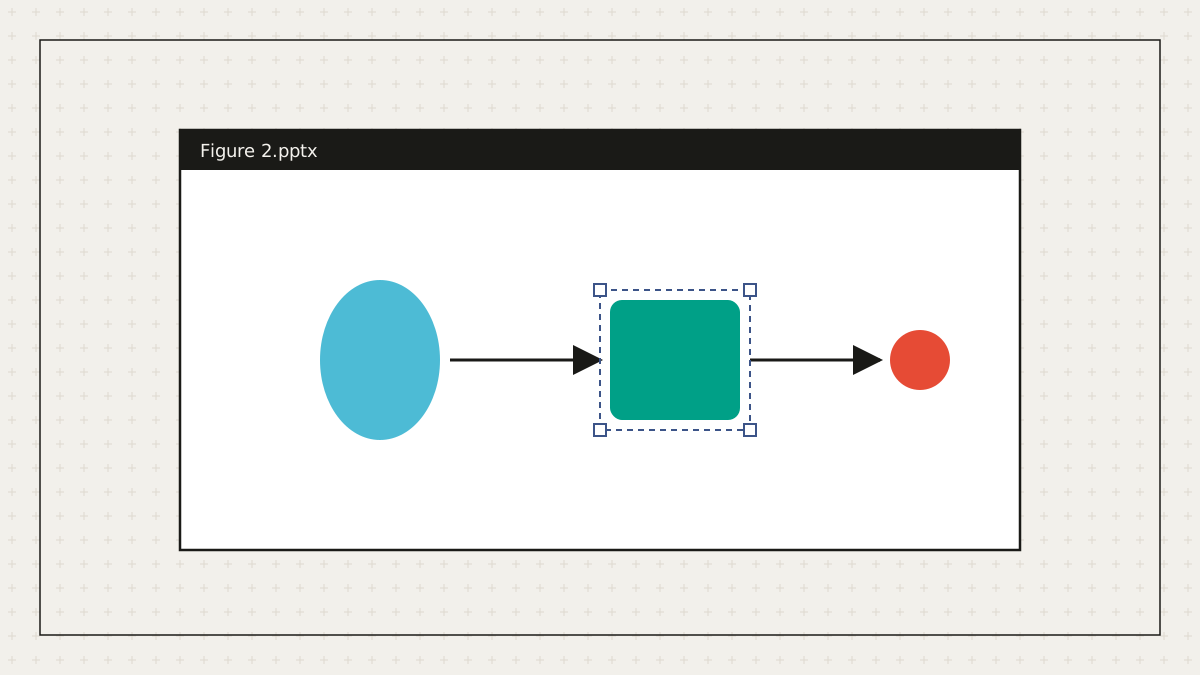
Not everyone on the author list owns a vector editor. Everyone has PowerPoint.
Read article →Free to start. No credit card. Every element stays editable.